

Geek Amok Projects with the Raspberry Pi 2
Product Info
The Raspberry Pi 2 is the latest mini computer for only $35 and features the following:
- A 900MHz quad-core ARM Cortex-A7 CPU
- 1GB LPDDR2 SDRAM
- VideoCore IV 3D Graphics Core
- Micro SD Slot
- Full HDMI Out
- Combined 3.5mm audio jack and composite video
- (4) USB Ports
- Ethernet Jack
- 40 GPIO pins
- Camera interface (CSI)
- Display interface (DSI)
However, the price is so cheap because it does NOT come with a power cord, SD Card loaded with a compatible OS or a video cable. Basically everything else you need, besides a case, to get it up and running. Think of it as a motherboard/processor/memory combo.
I picked up the Vilros Complete Starter Package which included the missing items as well as a WiFi adapter and (2) heat sinks on Amazon for roughly $70.00.
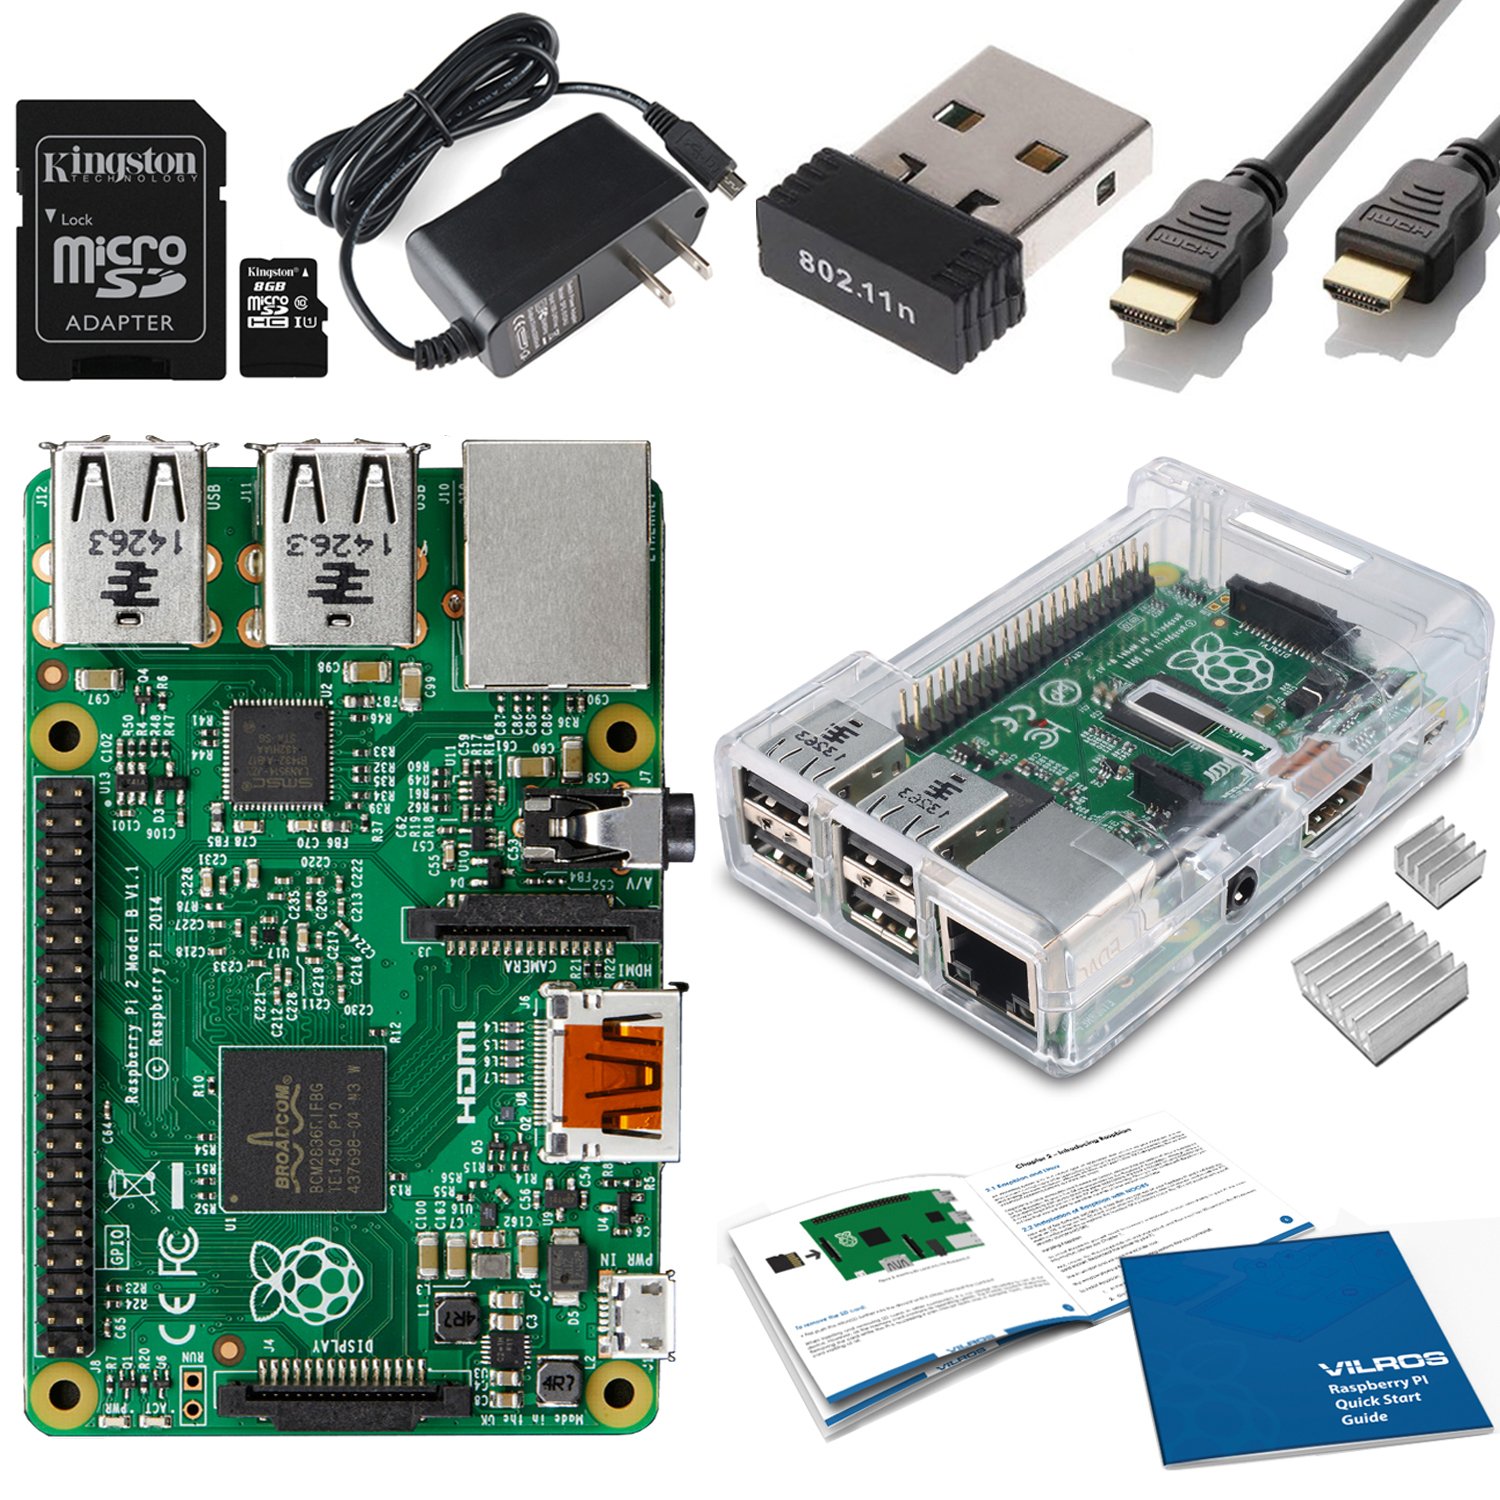
After receiving everything I did notice that there is another onboard chip that you can place a heat sink on. It seems to be warmer and have more heat surrounding it due to laying down on the bottom. There are packages and separate items that includes all three heat sinks after a quick search on Amazon for it.
Assembly and Setup
The assembly of the Raspberry Pi was painless and simple. The board just snaps in the bottom of the case. Applying the heat sinks were just as easy by removing the cover of some adhesive patches and pushing them down on the relative chips. The top of the case just snaps to the bottom of the case. Finally all that was left was plugging in the HDMI cable to the Pi and then the TV and plugging in the power cord ONLY to the Pi. I purposely did not mention plugging the power cord into the wall or installing the SD Card. The entire process with unboxing was less than 10 mins. Very user friendly and quick. Beats building a Full PC. Another hiccup in the testing process, there is no Power button. This is not really an issue, but for testing multiple images it does require to unplug the power cord from either end and plugging it back in after switching out the micro SD card. There are multiple solutions to implement a Power Button as well as using a Powered USB Hub that applies power to the Pi through USB. This is referred to as a Back/Backwards Powered USB Hub.
Flashing The Micro SD Card
Before you can plug in or supply power to the Pi you need to create an micro SD card (4GB or higher) and slide it into the micro SD slot on the pi. There are many different types of flashable premade images using something similar to Win32DiskImager. I have downloaded roughly 8 different ones, but will only focus on the Media and Gaming aspect of it for now.
Another recommendation is to buy additional 4GB or higher micro SD cards to place different images on to quickly switch between and to determine which image you like the best or just to be able to switch to for different needs at anytime. This way you never loose your configurations on those images due to reflashing a micro SD card. I picked up a (10) 8GB Micro SD pack with SD Card Adapters, cases and a USB SD/Micro SD Card Reader stick for under $40. Otherwise you can just format and reimage the card as needed, but again you will lose your configurations or any modifications to it.
Once you have your micro SD card flashed and ready, just insert it in and power on the unit to enjoy. Next we will discuss the different images I have tested to date. This article will be updated every time I test one as well as to include the Linux Based OS's and when available the Microsoft Windows 10 edition which is the one I am personally waiting for.
The Many Flavors of Pi
To start this off, I will only be listing the first (4) flavors of Pi that I have downloaded and will be trying out. The outcome and my opinions of them will be served later on this week. They are as follows:
- PiPlay: A pre built Raspberry Pi OS made for gaming and emulation.
- RasPlex: The Plex Home Theater port for the Raspberry Pi mini computer
- RasXBMC, soon to be OSMC: A minimal Linux distribution based on Debian that brings XBMC to your Raspberry Pi.
- RetroPie: A collection of works that all have the overall goal to turn the Raspberry Pi into a dedicated retro-gaming console
Outro
Overall this is a decent mini computer for the HOBBYIST and DIY'ers. I know you can just as easily setup a Google Chromecast, Roku device, Apple TV, Amazon Fire device, Playstation TV or just about any other Streaming device that will be simpler and just as effective, but what those devices do not offer is the ability to run an ARM GNU/Linux based Operating System on. In my opinion this is an more effective solution than any other device out there, excluding the Arduino, Beagleboard and similar DIY mini PC's. Stay Tuned and keep this article bookmarked for future updates as I taste the other flavors of Pi available.
Peace out my Ninjas and remember to Geek Out With Your Tech Out!
 |

|
|---|---|

|
|

|
|

|
|

|
|
|
Tweet |

0 comments:
Post a Comment